Collecting the required files
Description
Before you can proceed to create your own theme, you first need to collect the files associated with a theme. These are easily accessible and the steps to do so are explained here
Steps
- In your browser go to your libraries homepage.
- Click on the Administration tab and login.
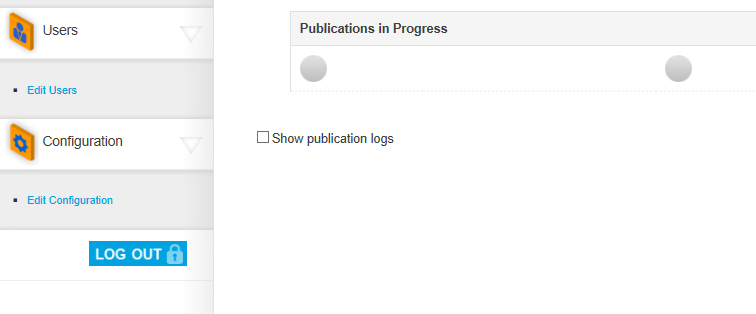
- Click on Edit Configuration in the left-side menu.
- This will open the Edit Configuration in a new tab. Open the Manage Themes category.
- Choose one of the pre-built themes listed and proceed to download the Zip file
- Extract the contents of the zip file and open the folder. In this file you will notice 2 items - a folder named the theme name (e.g. Connections) and theme.xml.


NOTE: In this area you will notice there is an ability to both download and upload themes. This is useful as it allows you to download a pre-built theme, customise it and then re-upload it for it to be used.

Theme.xml is the file that contains the XML code that connects each sub-folder and file together to create an overall theme, which can then be used as a theme for your library
The (Connections) folder contains sub-folders and files which are used to design individual parts of the theme
